
To quickly schedule all or a subset of the unscheduled students for Flex Block:
As an Admin, navigate to Users, Filter to Students > Schedule Status = Unscheduled > Date = applicable date
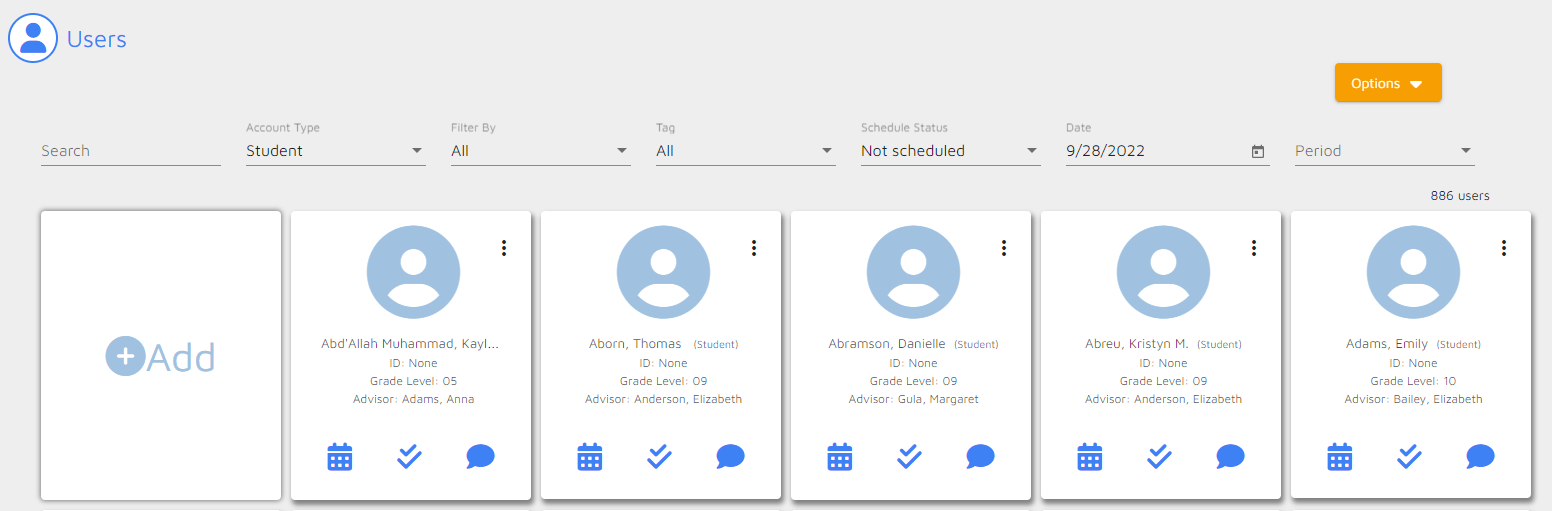
Once you have the filtered list unscheduled students, you can schedule them as an entire group or as individual or smaller subsets of the larger group.
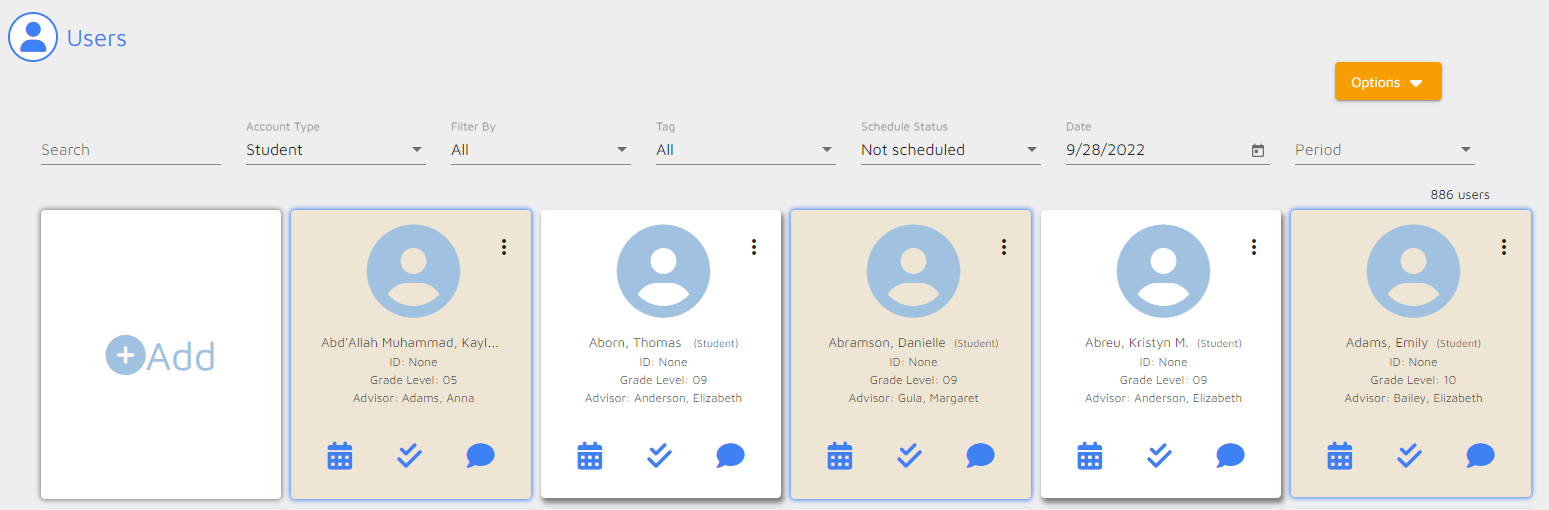
For the latter, click on the card(s) of the student(s). The student(s) selected will be highlighted in orange. If scheduling all students, there is no need to select individual student cards.
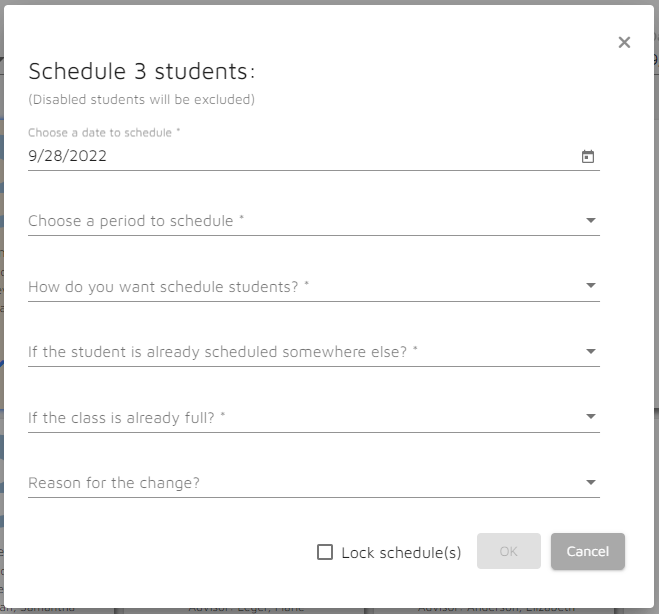
To schedule students, click the Options button and select Change Schedule

When you have selected specific students, the total number selected appears at the top.
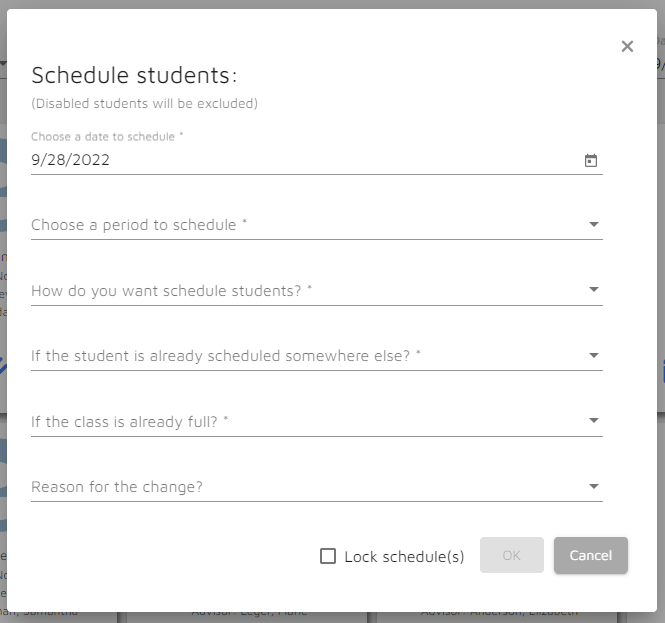
NOTE: If you didn't select specific students, the Change Schedule pop-up doesn't display a total number of students. The total number of unscheduled students is displayed on the user screen.
Select the different settings and click OK:
- Date to schedule students - confirm this correlates to what you filtered by
- The period you are scheduling them for - options appear if multiple Flex periods exist for your school
- How you want to schedule students:
- Use default class of student*
- NOTE: Default class must meet on the date selected
- Pick from a list of classes
- Select the class(es) you want the student(s) scheduled
- Class names and teacher will display to select
- If multiple classes are selected, then students will be evenly distributed between those classes
- Select the class(es) you want the student(s) scheduled
- Use default class of student*
- If student is scheduled somewhere else:
- Add student and drop from other class
- Add student and leave in other class
- Skip adding student to this class
- If the class is already full
- Continue Adding Student(s)
- Skip Adding Student(s)
- Reason for change - Optional
- Lock schedule(s) - Locks student schedule and only class teacher or MFL Admin can reschedule the student elsewhere
Once students have been scheduled, you should receive the following message
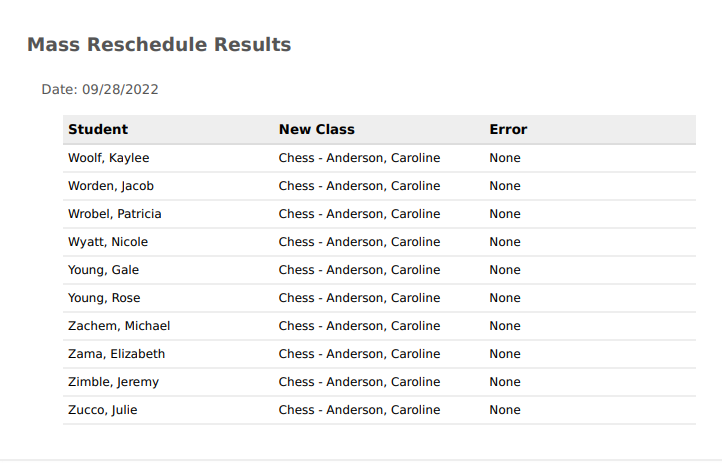
Sample Report:
NOTE: The below message appears if the reschedule was not successful
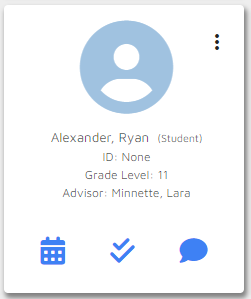
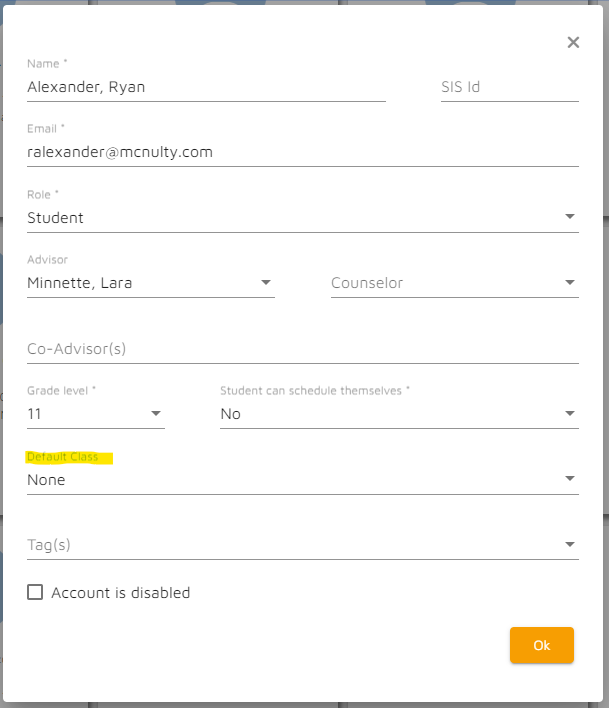
*To view a student's default class, from the Users area, click the vertical ellipses on the student card and select edit.
Comments
0 comments
Article is closed for comments.