
This article demonstrates how to create a class in MyFlexLearning. This can be used to create offerings for use in MyFlexLearning.
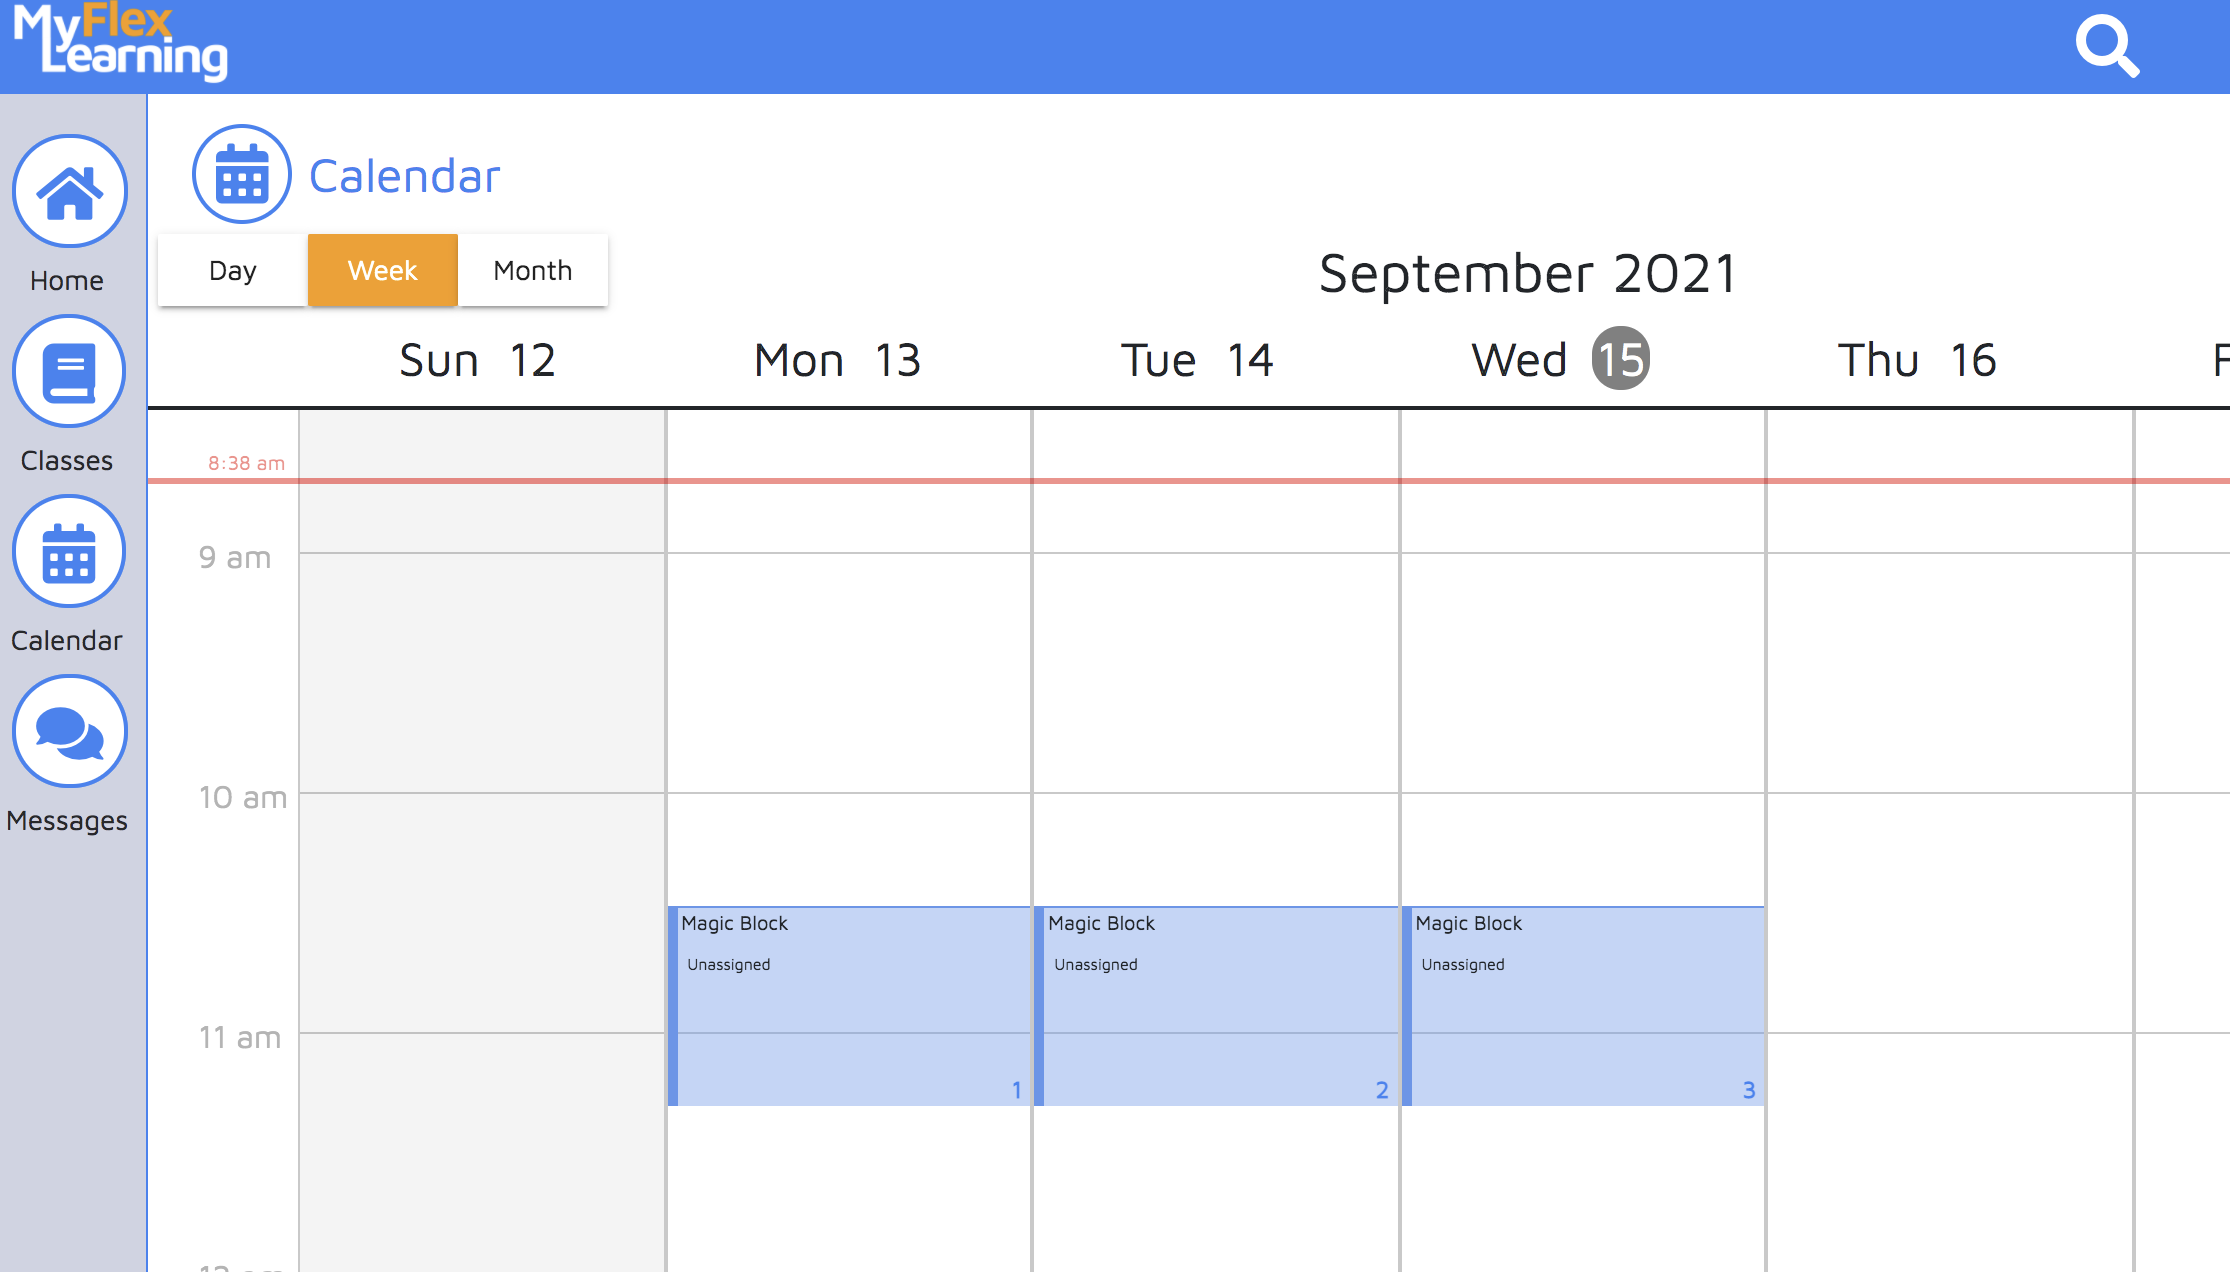
1. Click the Calendar icon on the left panel.
2. Click on the flex block time in the calendar to add a class.
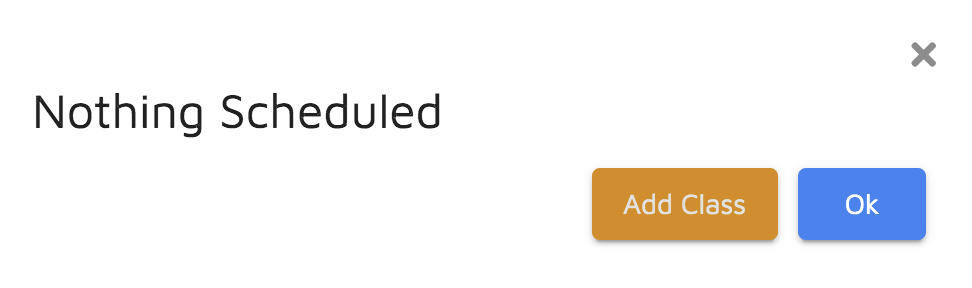
3. Click "Add Class" in the "Nothing Scheduled" notification.
3. Enter the class information.
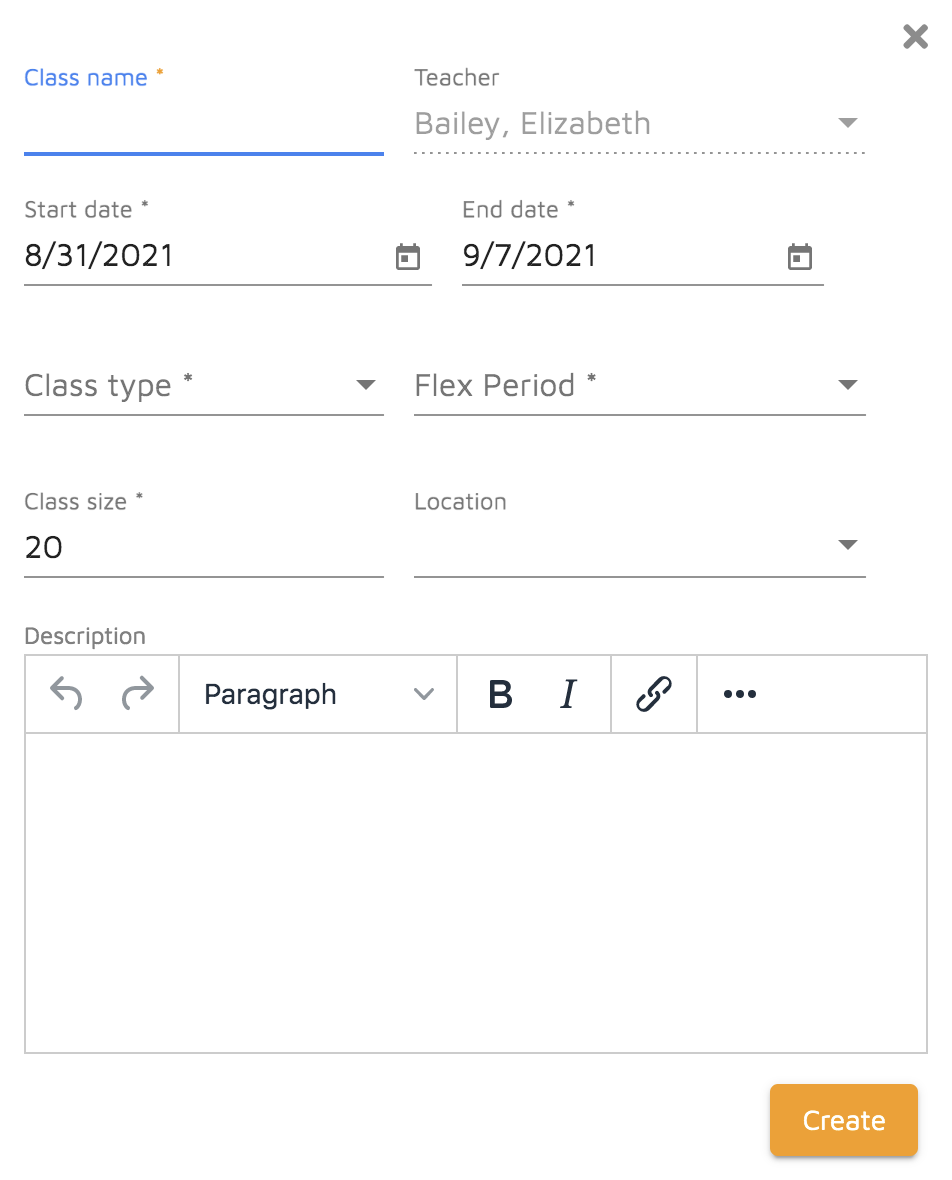
- Class name: Name the class. Admins, Teachers and Students will be able to view and search on this name. Required field.
- Teacher: Primary teacher for the class. This defaults to the teacher who is creating the class. Required field.
- Start date: This this the first date the class will be offered. Required field.
- End date: This is the last date the class can be offered. Note that the actual last date will also depend on Meeting Days and Repeat setting, below. Required field.
- Class Type: Type of flex class this will be. Additional types can be added by the Admin in MyFlexLearning. Required field.
- Flex Period: Select the flex period this will meet. This is particularly important if your school offers multiple flex periods. Required field.
- Class size: This is the maximum seats for the class. Change this number if this class is larger or smaller than that default. Required field.
- Location: Room where this class will be held.
- Description: Description of the class offering. Admins, Teachers and Students will be able to view and search on this description.
4. Click Create.
5. Find the class by using the search or filter.
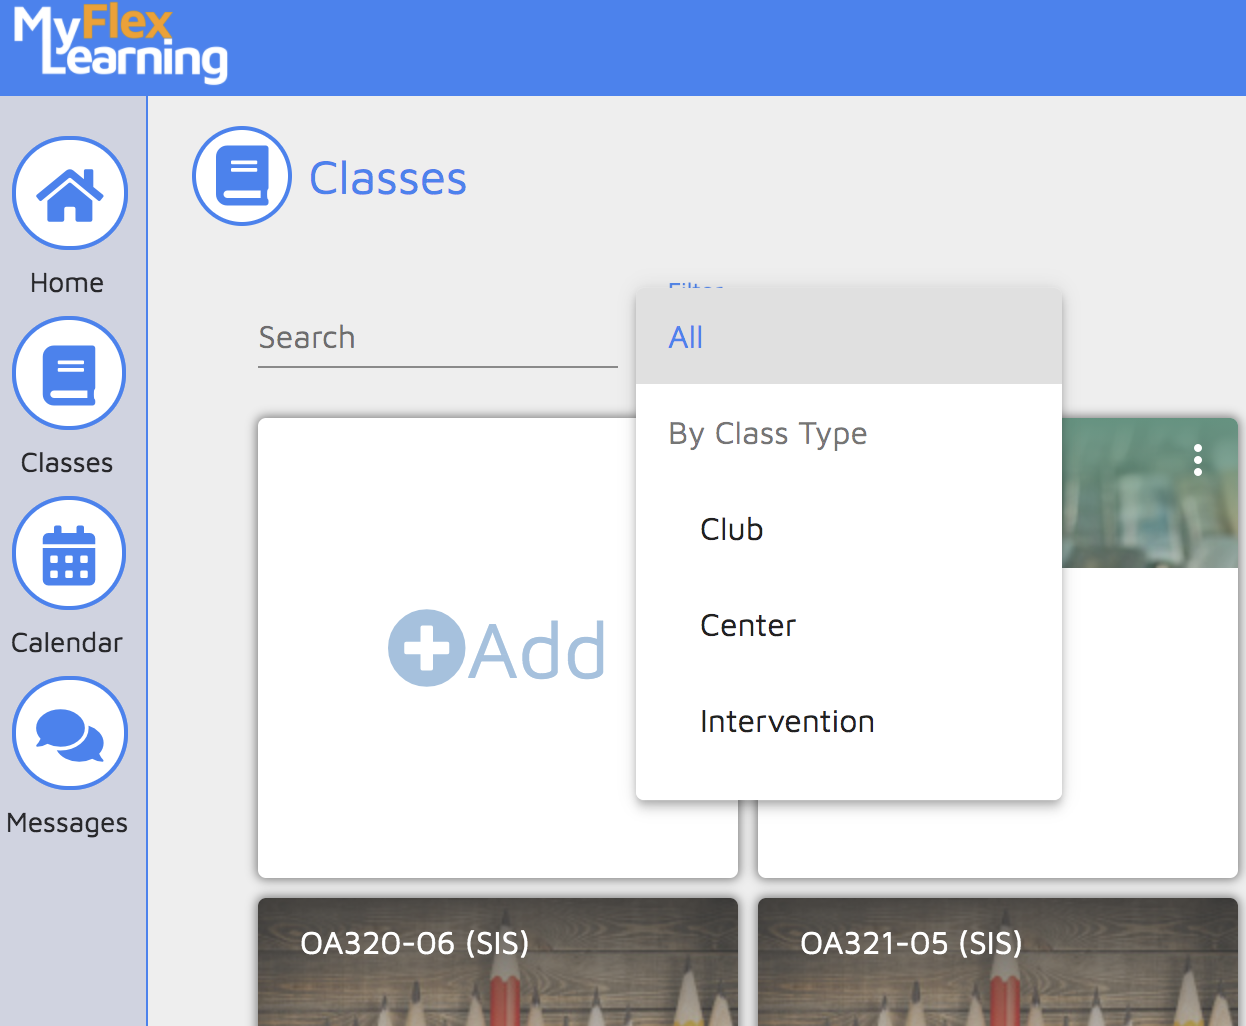
6. Click on the class to edit the details.

Details
- Allow Student Self-Scheduling: Set to Yes or No to allow students to schedule themselves into this class. Note that there is also an overall setting for the school on whether students are able to schedule themselves, which will override anything set on the class. If you select Yes and your school doesn't allow students to self-schedule, then students will not be able to self-schedule. This setting only works when the school allows students to self schedule. Required field.
- Grade level: Select one or more grade levels that are allowed to be enrolled in this class. Leave blank if there are no restrictions.
- Tags: Add any relevant tags.
Schedule
Select the Schedule bar to set the schedule.
- Meeting Days: The days of your school cycle will be shown here. Click the cycle days this class will be offered. This field is not required but needs to be complete for the class to be in session.
- Repeat: Select the frequency the class will be offered. Options include Every cycle, Every other cycle, Every third cycle and Every fourth cycle. Required field.
- Meeting Dates: This calendar indicates the actual dates this class will meet with a light blue circle around it. View the calendar to confirm dates. To cancel the offering on a date, click on that calendar date and that particular class meeting will be cancelled.
Students
Select the Students bar to add students.
- Meeting Date: Select the date to add students. If class doesn't meet every day, be sure to select a date when the class meets.
- Add Students: Select the Add Students button. Find students by searching or using the filters. Click on the students' cards and then the Add button. Use the Add All button to add all students on the screen.
7. Confirm the class details and click End to create the class.
Comments
0 comments
Article is closed for comments.